Table of Contents
Preparing your furniture to be repainted– whether it’s already painted or natural wood– is a topic I’ve discussed several times on my blog. But I realized I don’t actually have an entire blog post dedicated to it!
There’s a bit of controversy on the steps to take to achieve the best final painted result.
I saw a poll on Instagram recently asking whether refinishers clean their furniture before or after sanding or stripping. My answer was 100 % BOTH!
Cleaning is one of the most important steps without a doubt. If you skip straight to sanding, you are just pushing the dirt and grime down into the pores of that poor furniture forever. Blegh!
These are my usual steps, whether the piece is painted or stained:
- Visual inspection of the piece and a deep clean.
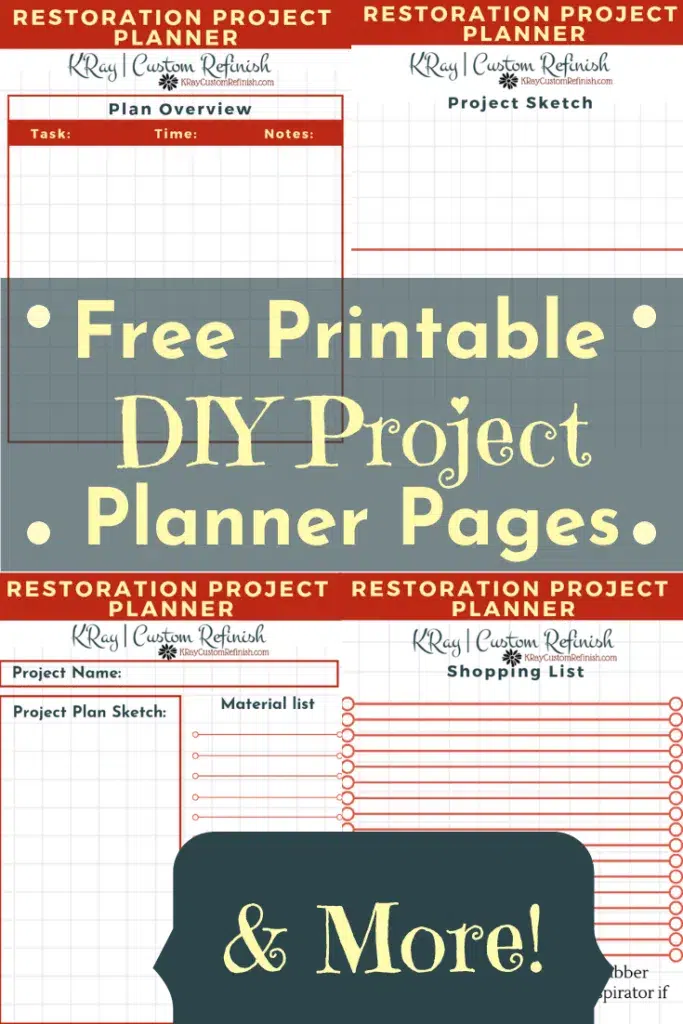
- Create your plan of attack! (Top to bottom/upside down/drawers in/out, etc.) (My Free Printable DIY Project Planner is perfect for this step)
- Sand down the entire piece and note any spots that need repairs, filler, glue, etc.
- Another deep clean. This time with denatured alcohol to remove all dust and any remaining dirt/residue still on the surface after sanding.
- Fill any obvious holes or gouges with filler, repair any broken pieces, and if necessary, create molds to replace missing parts/ secure them to the piece.
- Apply a thin coat of primer to the entire surface of the piece.
- Sand smooth, fill any remaining holes again, sand smooth.
- Finally, apply 1 more thin coat of primer to the entire surface. These last 2 steps may need to be repeated numerous times until the surface is completely smooth and free of visible damages.
Why I Prime Twice
This is the point where many people would jump straight into paint. Personally, I don’t.
The first coat of primer acts almost like a guide coat. It highlights scratches you missed, dents you couldn’t see before, old repairs that need attention, and areas that still need additional sanding.

After that first coat dries, I usually find several spots that need more work. Sometimes it’s a tiny gouge that suddenly stands out, other times it’s a repair that shrank slightly as the filler dried.
I sand the entire piece smooth again, make any additional repairs, and spot-fill as needed.
The second coat of primer creates a much more uniform surface for your paint to adhere to. This is especially important if your piece contains a mixture of raw wood, old finish, wood filler, veneer repairs, or previously painted areas.


I recently commissioned a GORGEOUS dresser and 2 nightstands the client wanted painted in a high-gloss pink. I was SO excited that someone in NH actually wanted something different! Up until then, the best I’d gotten was a lilac dining table. The rest is either Black, White, or Refinished to the original color. Which is all lovely, don’t get me wrong. But High-Gloss was something I was so waiting to try. And PINK! Yay!

But let me tell you, that high gloss needs an absolutely glass-smooth surface, or it looks like crap. So I definitely needed quite a few coats of primer on these beauties.

Can You Skip Some of These Steps for other finishes?
Absolutely.
If you’re painting a heavily distressed farmhouse piece, you may not need multiple rounds of filling and sanding. If you’re using a thick chalk-style paint, minor imperfections may disappear on their own. Or even my favorite, the chippy Milk Paint–you don’t want it to be perfect!
However, if you’re looking for a smooth, professional finish, preparation is where the result is achieved. The actual painting is often the easiest part of the project.
I’ve said it many times before on this blog, but preparation can make or break your final finish.
My Biggest Preparation Mistake
Early on, I was always eager to get color onto a piece as quickly as possible. I’d rush through sanding, skip filling small defects, or convince myself that the paint would hide everything.
Unfortunately, paint tends to do the exact opposite.
Tiny scratches become more visible. Dents stand out. Repairs that seemed smooth suddenly become obvious.
The more time I spend preparing a piece now, the better my final results become.


Final Thoughts
There are certainly dozens of different preparation methods out there, and every refinisher has their own process. This is simply the method that consistently works for me, whether I’m painting over old finishes or working with raw wood.
If you take anything away from this post, let it be this: don’t rush the prep work.
The paint gets all the attention, but preparation is what truly determines how your finished piece will look.
Do you have a preparation step that you never skip? I’d love to hear about it in the comments.
Please Share this post if it was at all helpful or interesting to you, it would truly help a girl out 🙂

Until next time,
KRay