**Heads up: This post contains affiliate links. As an Amazon Associate, I earn from qualifying purchases. Meaning I may receive a small commission– at no cost to you, of course– were you to make a purchase through any of the links. If I link to a product, I use it, I love it, and I think you would too! Please see my Privacy Policy for more details.
Hi Everyone!
Thanks for stopping by the KRay Custom Refinish Blog.
Today’s tutorial you’ll learn about layering chalk paint colors over one another for a rustic farmhouse/shabby chic look.
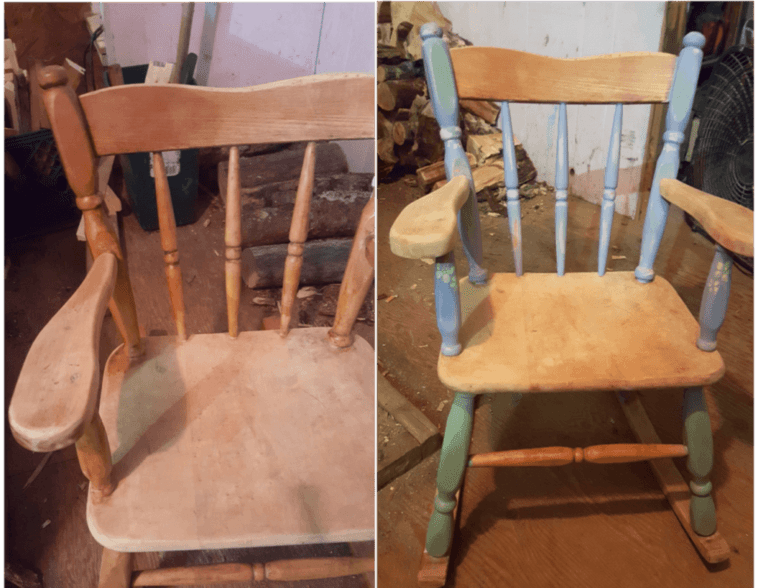
The piece I’m working on is a child’s wooden rocking chair. I haven’t seen many child-sized rocking chairs done in the “shabby chic” style so I thought it would be interesting!
Layering Chalk Paint is Versatile Method and Works With Most Styles of Furniture
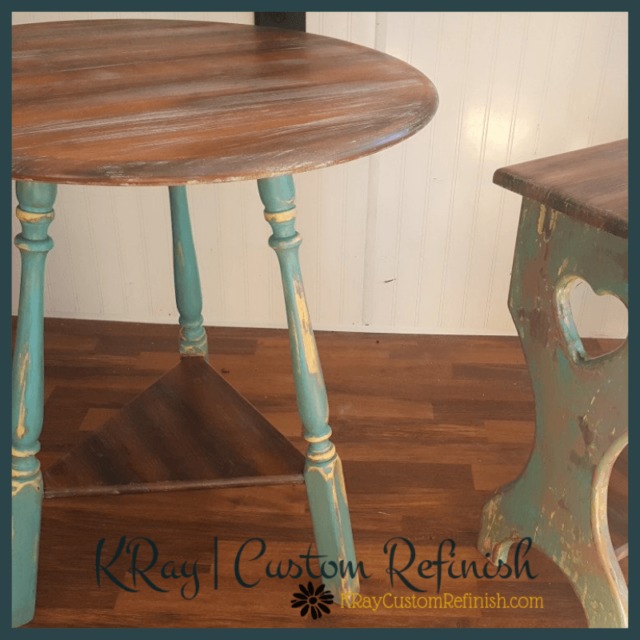
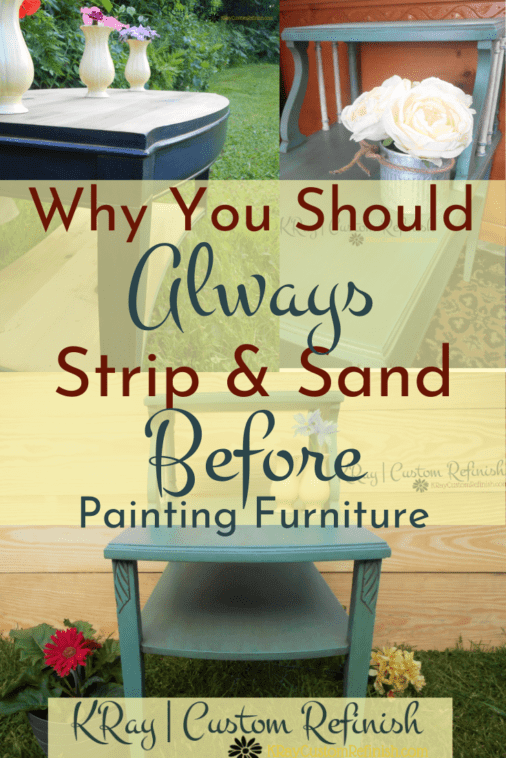
The most recent pair of side tables I completed by layering paint came out wonderful.
They have 3 different paint colors layered on top of one another; plus 2 stains and a white ceiling paint blended together on the top.
The best part about layering paint is the colors!
I just love choosing kinda crazy color combinations, so that each color really stands out and makes the piece unique.
Of course, you can choose simple colors as well, and it still looks amazing.
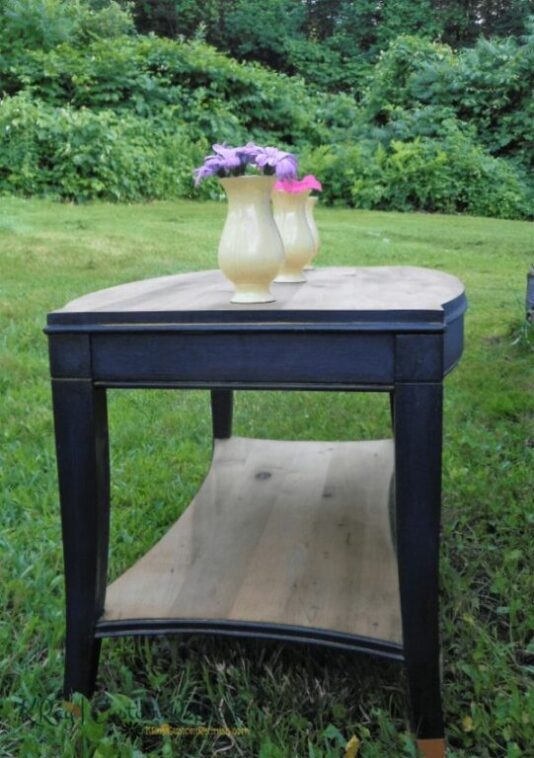
My Navy Blue Coffee Table was done with only Navy blue milk paint and black chalk paint – and it adds just the right touch of class to the piece.
If it weren’t for the milk paint layering method, my Faux Barn Door Coffee Table definitely wouldn’t have come out so perfectly either!
Now for this rocking chair, I was thinking about my 2 -year-old Alice when I chose the colors of course (how can you not??), but I do think I’ll be putting it up for sale.
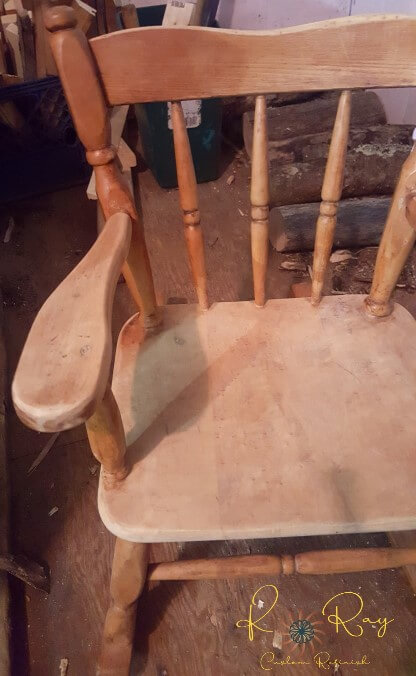
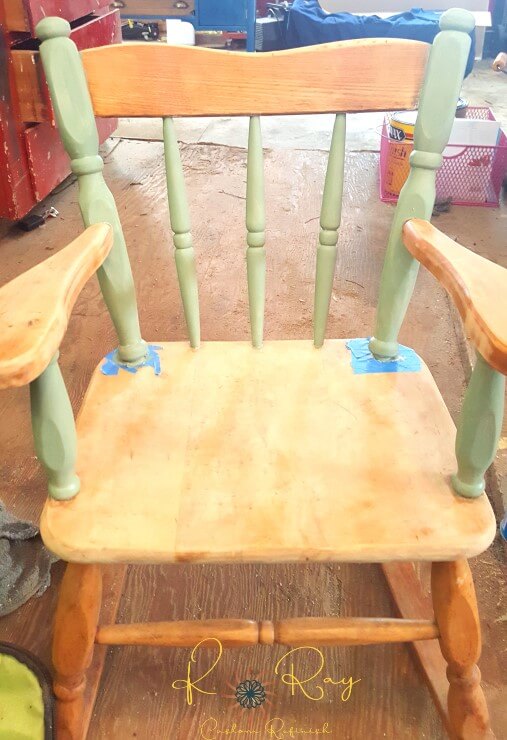
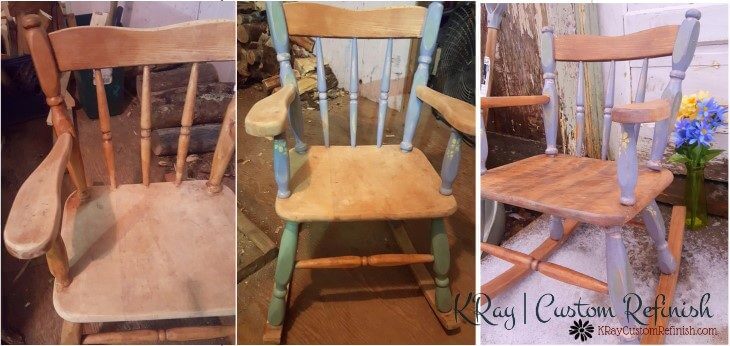
Here is the chair before:
I will be layering a light pink, a moss green, and a lavender. I also plan to add some stenciling between colors.
Prepping the Piece for Paint is the Most Important Step
The first thing you want to do is clean and sand the wood down on your piece. I sanded mostly the back, seat, and arms with my Orbital Sander (fave) with 80, 120, and then 220 grits.
You may want to do it a bit differently depending on the type of wood you’re working on.
Not sure what type of wood your piece is? I’ve got you covered with my Ultimate Guide for Identifying Wood Types in Furniture.
For more info on sanding wood, check out my 5 Game-changing Tips on Sanding Wood Furniture post with way more than 5 tips! (everything you need to know on sanding your next piece.)
I planned to paint and distress the chair’s spindles, so I wanted to leave a little bit of finish on them. That would allow the paint to come off easily in certain places.
After sanding, use a tack cloth, or if you have one; an Air Compressor works great to blow off all of the dust you can. Especially with chairs that have tiny crevices the dust just won’t come out of!
I’d also recommend wiping down the piece with some Mineral Spirits as well, to clean the wood completely.
Then it’s time to paint.
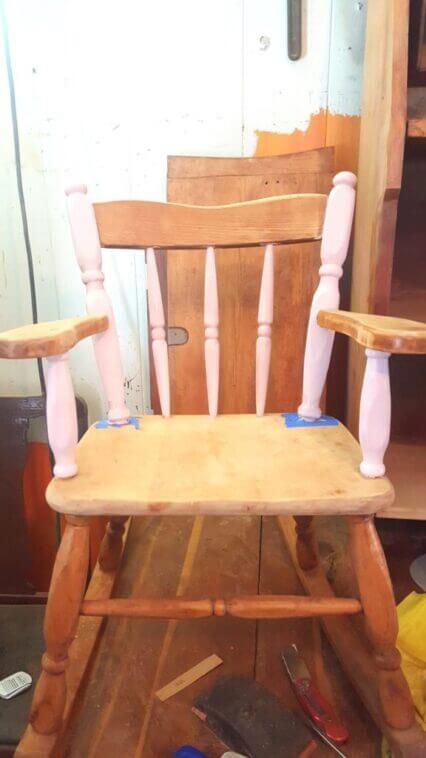
I chose to use the ballet slipper pink Waverly Inspirations Chalk Paint for the first layer.
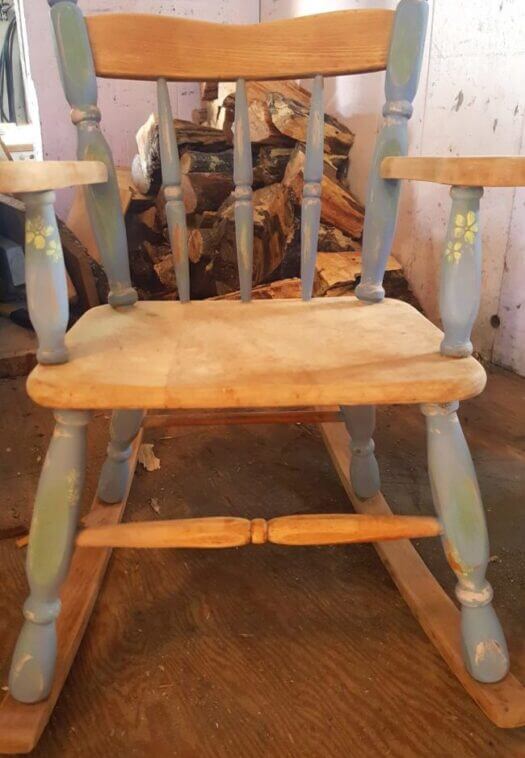
This time, I chose to split the chair up into sections and only painted the top half/back spindles with the first color. (Mostly because I was so excited to see how it would turnout layered) You obviously don’t have to do this, honestly, it was kind of silly of me since it was such a small chair anyways.
Your Base Color; Depending on the Contrast, Will Stand Out the Most in Your Finished Product
Choose which color you apply first wisely based on your color palette. I didn’t want any of the colors to pop out too crazily on this one, so I chose pastel pink to start.
Apply your first color using light, even, strokes and a small, square, detail brush.
Wait for at least 2 hours before moving to the next step.
Apply a thin layer of Petroleum Jelly to spots you’d like the 1st color to show through.
Make sure it’s a very thin layer. Too much and the 2nd coat of paint will gunk up and won’t work out as planned.
Too little and the paint will adhere normally and be difficult to remove during the distressing step. So it’s a very small sweet spot, you may need to try it out a few times before you get it down.
Wait about 10-15 minutes before applying your 2nd paint color over the petroleum jelly.
Next, apply the 2nd Paint Color Over the Petroleum Jelly
For the next coat, I used a moss green color, also by Waverly Inspirations. Again, waited 2 hours after the green was dry, then added another coat of petroleum jelly.
This time, add the petroleum jelly on the spots you hope the 2nd color will show through.
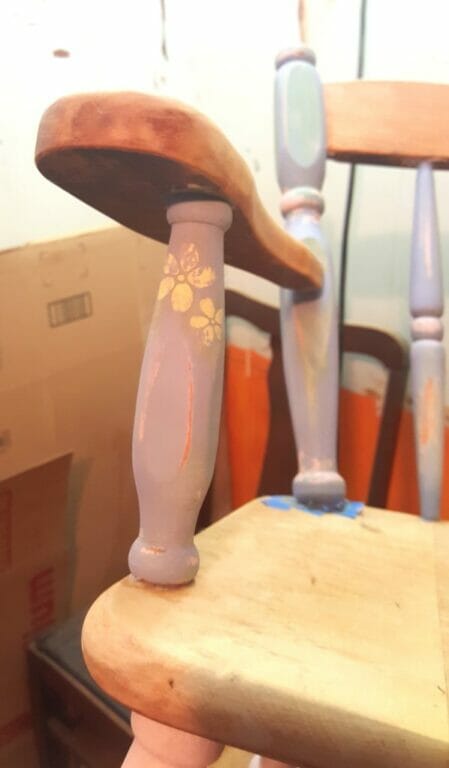
I chose to add the stenciling before the 3rd, and final, coat and color.
You could do it at any point in the process, but to ensure the stencil pops out, you would need to cover it completely with petroleum jelly before each layer.
Doing it last means you only have to worry about uncovering the stencil once.
Basically, apply the stencil as you normally would, wait the normal dry time, and then apply jelly completely over the stencil in a thin precise layer.
After 10 minutes, the final coat of chalk paint goes over the stencil, along with the rest of the piece.
This was my first attempt with stenciling, so as you can see I covered the stencil pretty lightly just to be safe.
You really don’t need to with this method as the paint just slides right off in most cases.
Distressing the layered paint to FINALLY unveil all of your colors
For this step, I most often use these sponges. They’re covered in a fabric material on the outside with a sponge underneath. They work perfectly for wet distressing if you lightly wet them.
Use the lightest hand possible and slowly wipe away the layers.
The petroleum jelly should make this pretty simple.
For any stubborn spots, I use my 2nd favorite: Norton Contour Sanding Sponge
I find if you wet these they work great as well. Plus they’re washable and reusable which is a HUGE upsell for me. (I go through way too much sandpaper it’s getting a little out of control.)
To See More of My Favorite Tools & Supplies For Refinishing Furniture, Check Out My Best of the Best Lists: Part 1 (Sanders, Sandpaper, Safety & More) & Part 2 (The Best Cheap Paints, Stains, and More!)
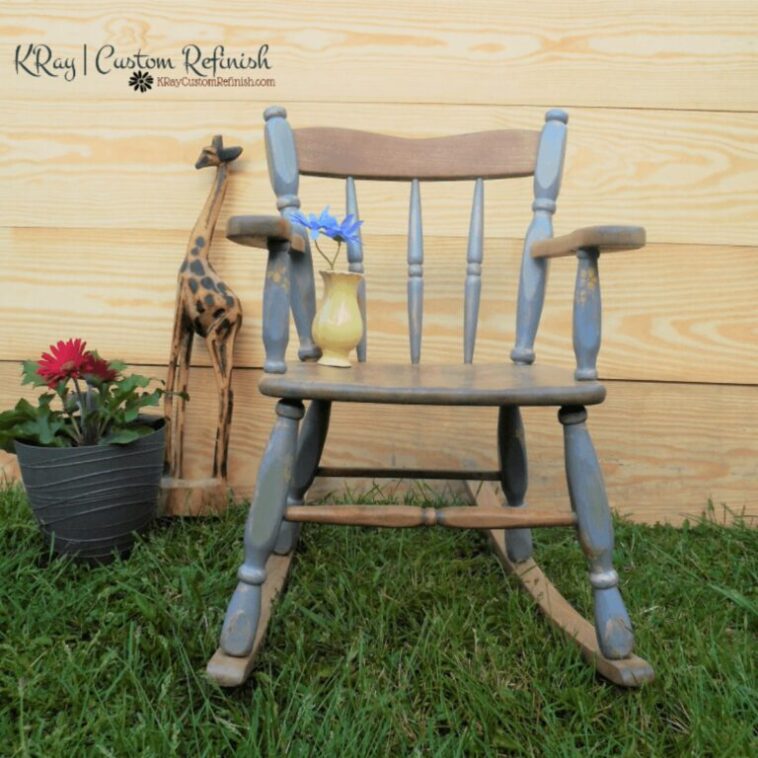
The Finished Paint Job:
I really think that layering the paint gives it that shabby chic/rustic farmhouse look 🙂
Here is a quick step-by-step guide on Layering Chalk Paint with Stencils (so far) in case that was a bit confusing to anyone. Please let me know if you have any questions at all.
How-To Add Stencils When Layering Chalk Paint Colors on Furniture
Learn to Layer Multiple Different Paint Colors On Top Of One Another, (Including Stenciling) & Distress For A Rustic Farmhouse Look.
2 Days
Apply 1st Coat of Paint
Your base color. Allow to dry for at least 2 hours.
Apply a thin layer of petroleum jelly.
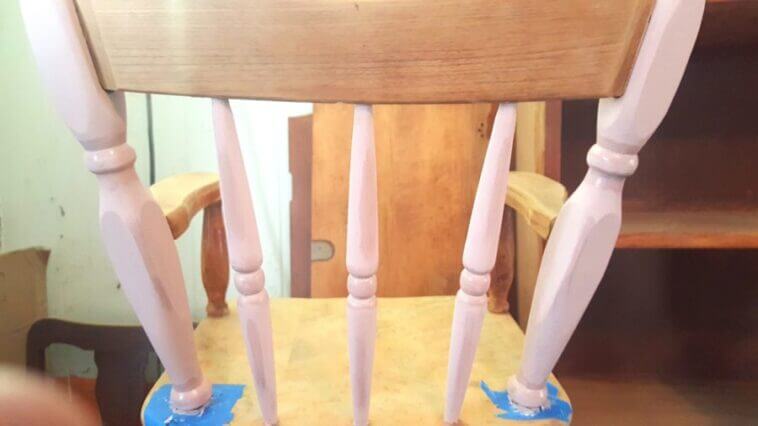
Only to the spots you’d like the 1st color to show through.
Wait 10-15 minutes. Then apply your 2nd coat of different colored paint.
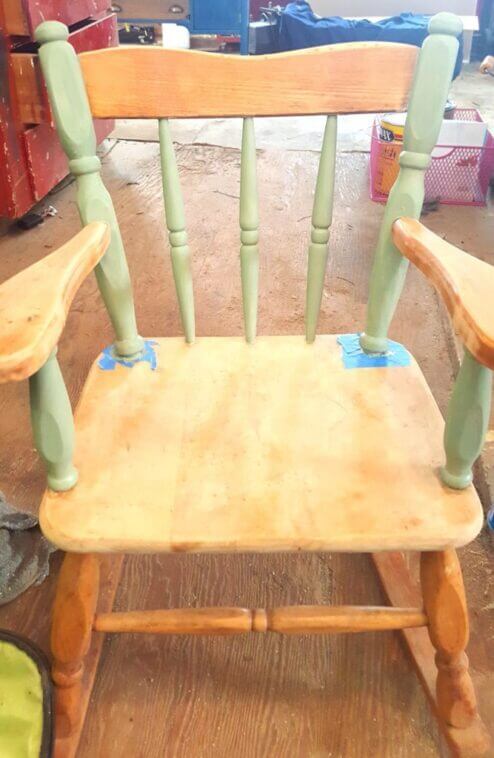
Allow drying for at least 2 hours.
Paint on stencils.
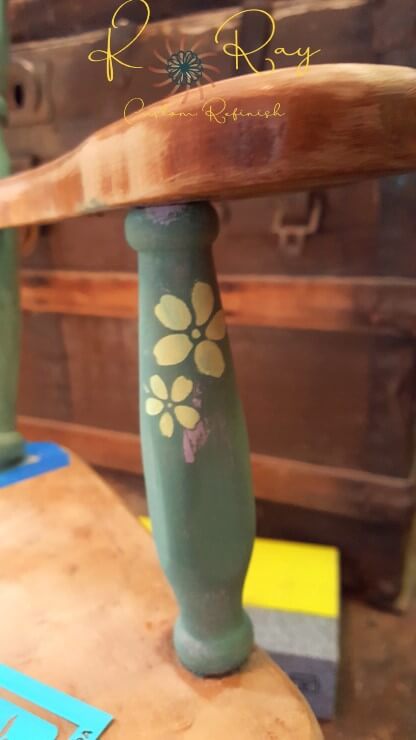
You can use 1 of the 3 colors your using, or you can choose a separate color just for the stencils. Wait at least 2 hours for the stencils to dry.
Cover the stenciled areas completely with a thin layer of petroleum jelly.
You can also use this time to apply petroleum jelly to any other areas you’d like the 2nd color to show through
Wait 10-15 minutes, and then apply your final coat/3rd paint color.
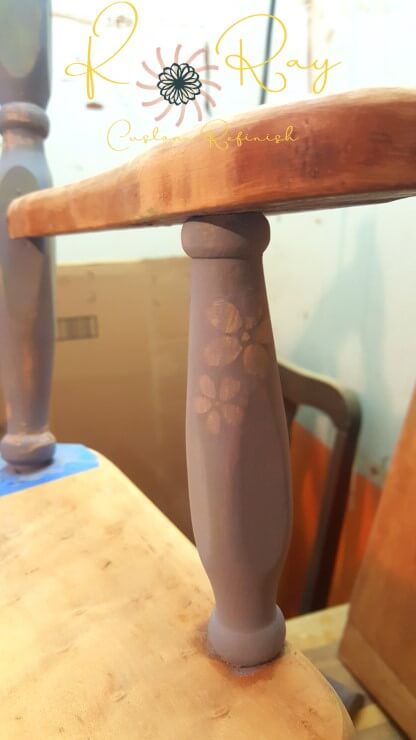
Allow the entire piece to dry for 24 hours.
Lightly distress with a fine-grit sanding sponge.
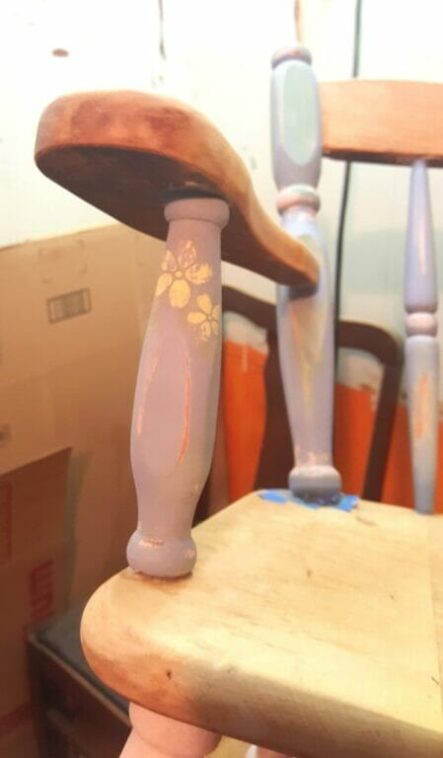
The paint should come off easily in spots with petroleum jelly. If necessary try wetting your sponge a bit and applying light pressure to remove paint over the stenciled area.
Seal with your preferred method.
Either polyurethane or wax.
Head on over and read the conclusion to this post: Layering Wood Stains For a Rustic Farmhouse Look in which I’ll finish the gorgeous wood seat and back of the chair by blending multiple stain colors together. Let me know what you think!
For more help with chalk paint on furniture, check out my Easy Antique Wax & Chalk Paint Tutorial. Or, if you’re looking for a different Distressing Method, I’ve easily explained 7 different paint distressing techniques (including paint layering) in my latest post.
Thanks for reading 🙂
To receive updates on my newest blog posts sent right to your inbox, sign up for my newsletter below!

