**Heads up: This post contains affiliate links. As an Amazon Associate, I earn from qualifying purchases. Meaning I may receive a small commission– at no cost to you, of course– were you to make a purchase through any of the links. If I link to a product, I use it, I love it, and I think you would too! Please see my Privacy Policy for more details.
Which Pre-Stain Treatment Method Works Best for Staining Tough To Stain Wood?
6 Methods Tested Side By Side For Comparison
Hi all! Today I’ll be going over a little experiment I’ve been working on this past couple of days. Finding out which Pre-Stain Method works best for staining tough to stain wood? But first, the reason I decided to do this little experiment…
The Impossible Secretary Desk Task
Besides working endlessly on the site, I’ve also been working on furniture (of course). And I’ll be honest, I’ve been struggling with one particular piece for a while now:

This piece is extremely old, and was built originally to be painted it seems.
Therefore the wood that was chosen for it is…subpar. don’t get me wrong this is an absolutely gorgeous, hardwood, sturdy desk.
But the holes and knots and just all around roughness of the wood are not staining the way I would like for the customer.
I would normally play that up with a weathered/gray wash-type look. But this particular customer knows what she wants, and that’s not it. She wants a nice dark brown (not dark enough to cover the spottiness though).
So, I basically finished this desk once already. I sanded it for hours before staining and truly thought I’d done the best I could before trying the stain. Besides wiping it down with a tack cloth, I did not do any sort of treatment before adding the stain.
I coated the entire thing with one coat of stain and learned that it was just not enough.
Looking at it I couldn’t get past the blotchiness and uneven spots where the stain didn’t quite absorb correctly.
So that got me thinking…
Did I need that pre-stain conditioner I’ve heard so much about?
I’ve always thought it was just a gimmick and I’ve tried tons of other methods for prepping wood before staining, but not that one…
I always find myself googling methods when I have a stain project. So I finally decided to do a little experiment to find out once and for all:
Which Pre-Stain Treatment Method Works Best on Tough to Stain Woods?
I set off to Google yet again to find out exactly how many methods I could easily find. Nothing too out of the box, but methods that the average “Googler” could find, I left out the most obscure methods I found this time.
6 Pre-stain Treatment Methods:
1- Sanding + Minwax Pre Stain Conditioner (oil-based)
2 – Sanding + “Popping the grain” by coating the wood with warm water just before staining
3 – Sanding + Sealing the wood before staining with a wipe on Polyurethane
4 – Sanding + Sealing the wood before staining with the wipe on Polyurethane mixed 50/50 with Mineral Spirits
5 – Sanding Only with a 120 grit sandpaper
6 – No Sanding No Coatings just a clean piece of wood
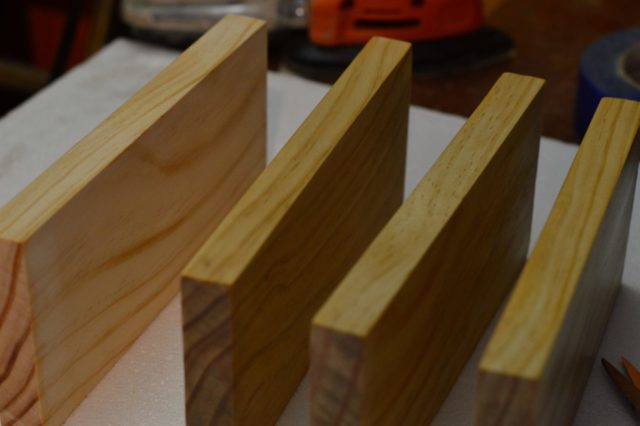
I went to the hardware store and picked up a 1″x4″x4′ long piece of pine. Scott cut off one 8″ piece that I would use as my untouched “constant.”
The piece that was left I sanded as a whole with my mouse sander so there were no inconsistencies. Then he cut that piece into 5 – 8″ long pieces.
I wiped them all down with tack cloth to remove all dust.
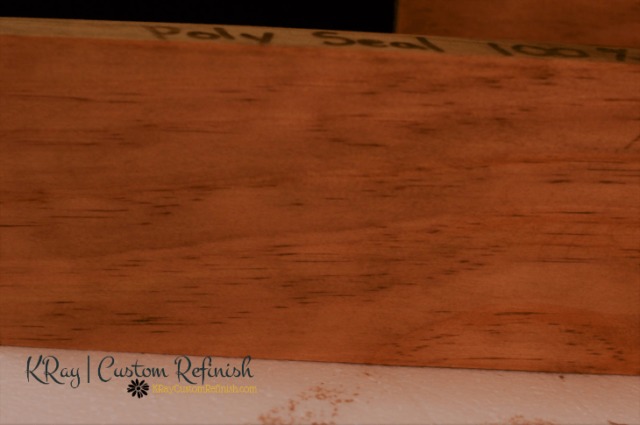
The sealer method pieces went first due to the dry time. Using a cheesecloth I applied the 100 % Oil-Based Polyurethane in a very thin layer to one of the pieces.
I filled a small lid with Polyurethane and then with mineral spirits and mixed them together for the next piece, applying in the same thin layer.
I let those 2 dry overnight before beginning to stain the rest.
The Big Day of Staining!
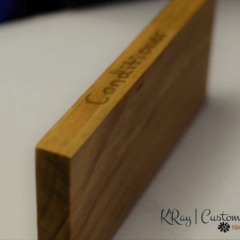
The next day, I set up shop and got to staining. I applied the pre-stain conditioner first, letting that sit for 10 minutes, and removing the excess.
The directions state that you should stain the wood within 2 hours of applying the conditioner.
I figured doing it right away wouldn’t be great either, so I waited about an hour before staining that one.
The 2 sealed pieces, I sanded very lightly with 220 grit sandpaper. Wiped down with a tack cloth and then stained together.
With a spray bottle full of warm water I sprayed down the “water only” piece, and then used a brush to spread it on the wood evenly.
I waited a good 10-15 minutes before staining that one. Making sure every drop of water was gone before starting as my research showed me.

Finally, I applied stain to the “constant” piece, and the “sanded only” pieces.
All pieces had the stain left on for the maximum amount of time (15 minutes) before wiping the very little excess off.
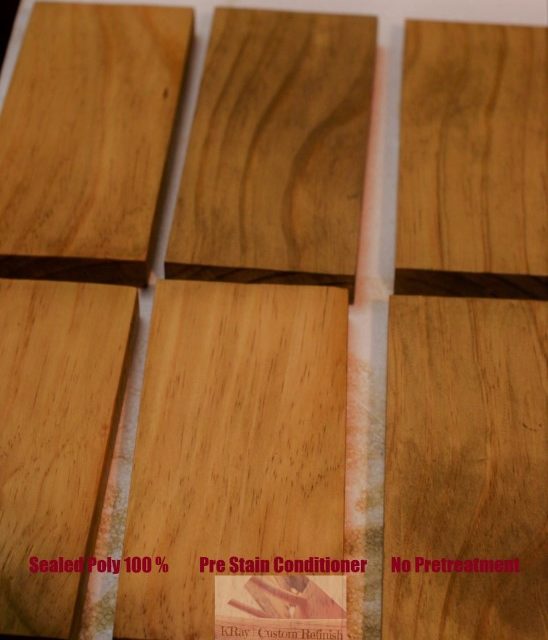
Drumroll, please…
I will say, I wish I had gotten a darker stain for this experiment so it was a little more obvious.
One coat just didn’t cut it so I applied a 2nd coat for another 15 minutes to get it to stand out a little better:
As you can see, the sealed pieces are much lighter than the rest. Zero blotchiness but also not much wood grain or color.

The wood conditioner piece is also lighter than the rest, with little to no wood grain but fewer splotches as well.
The “constant” with no sanding or treatment is darker but very unevenly colored, half of it is very dark a rough looking.
The “sanded only” piece is very similar to the unsanded piece: very rough looking and uneven.
Below is my full pre-stain methods rating chart based on 3 categories:
5 = Best 0 = Worst
| Method | Coloring | Wood Grain | Absorption (Splotchiness) | Total |
| Conditioner | 2 | 3 | 5 | 10 |
| Polyurethane Seal 100% | 2 | 2 | 5 | 9 |
| Polyurethane Seal 50/50 Mineral Spirits | 3 | 3 | 4 | 10 |
| 4Sanded & Water | 4 | 5 | 3 | 13 |
| Sanded Only | 4 | 4 | 1 | 9 |
| No Pre Treatment | 4 | 4 | 0 | 8 |
In my opinion the “water only” piece is the best all-around based on coloring, wood grain, and even absorption.
The grain is beautifully darkened, and although there is some unevenness it is mostly because of my quick sanding job.
So there we have it! Going back to the original question:
Which Pre-Stain Method is Best for Tough to Stain Wood?
- Coating with Warm Water and staining after completely dried (popping the grain)
- Wipe on Polyurethane Sealer mixed 50/50 with Mineral spirits
- Pre Stain Wood Conditioner (Tied for 2nd)
- Wipe on Polyurethane Sealer 100%
(All of these sanded before applying treatment)
This experiment actually helped me out quite a bit, and I plan to keep a printable on each method’s ratings myself!
This most definitely doesn’t mean that water will be my only method from now on. For the secretary desk, I spoke about earlier, knowing the perfect method for zero splotches but a slightly lighter stain color, means I can get a super dark stain, and then use the sealer 50/50 method for the perfect look I’m going for! Ta-dah!
UPDATE: Here is the secretary desk after using the 50/50 method:

Another Update: I tried this experiment a second time in hopes of finding a more definitive answer for which method works best. And I did! Check out the post Preparing Wood For Staining to learn the TRUE Method I use from now on for preparing wood for stain.
Thanks for reading, I would love to hear anyone else’s tough experiences with staining wood and what you ended up doing! 🙂
For more about furniture prep before paint check out Tips on Sanding Wood Furniture, or Which Method of Stripping Paint Sucks Less?
Also, find out why I always strip and sand furniture before painting.
Until next time,
KRay

