**Heads up: This post contains affiliate links. As an Amazon Associate, I earn from qualifying purchases. Meaning I may receive a small commission– at no cost to you, of course– were you to make a purchase through any of the links. If I link to a product, I use it, I love it, and I think you would too! Please see my Privacy Policy for more details.**
Have you recently purchased a one-of-a-kind refinished furniture piece, and are worried about messing up the finish?
Did you just completely refinish a furniture piece yourself– or hire someone to–, and you’re not sure how to keep it as beautiful as it is right now, for years to come?
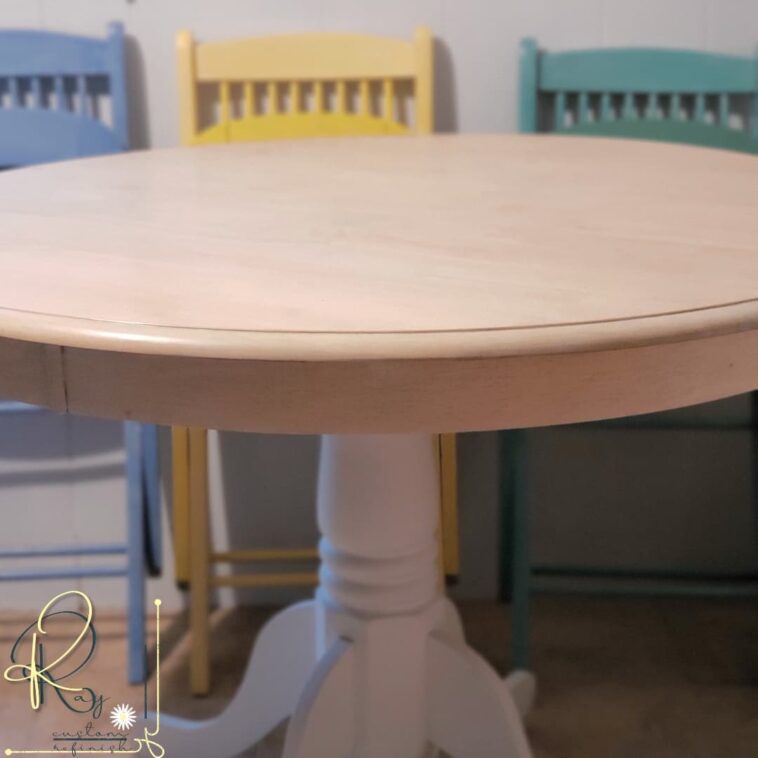
Today, I’ve got some great refinished furniture care tips to share with you all, whether your piece is painted, stained, sealed, or waxed.
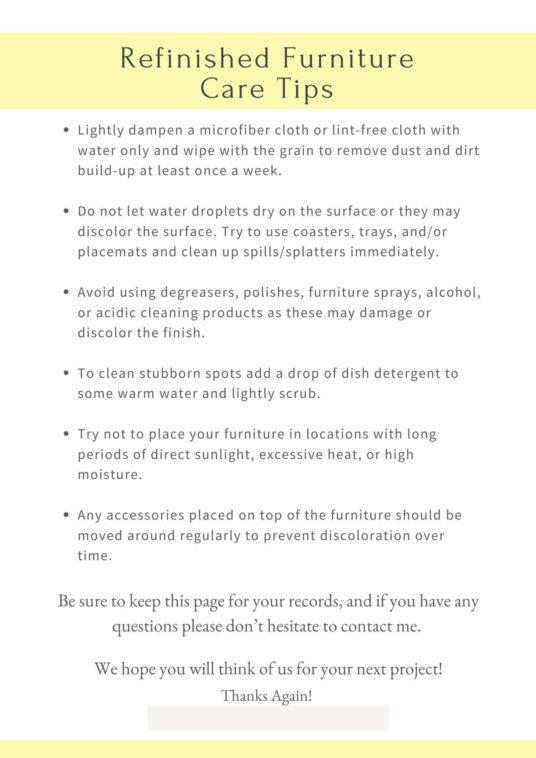
If you’ve worked with me before here at KRay Custom Refinish, either by purchasing one of my refinished furniture pieces or hiring me to refinish a piece of your own, you know that I hand out a “Refinished Furniture Care Tips Sheet” with every piece.
I think that It is extremely important for the owner of the furniture piece to be aware of what they should and shouldn’t do with the piece in the early stages, as well as later on down the road.
So I send home a sheet explaining exactly what to expect in the beginning stages, how to clean the surface, as well as tips on the best areas of your home to place the piece to extend its life even longer.
Check out Porch.com’s Expert’s Furniture Guide: From DIY to Home Design for more tips on DIY Furniture & Home Design
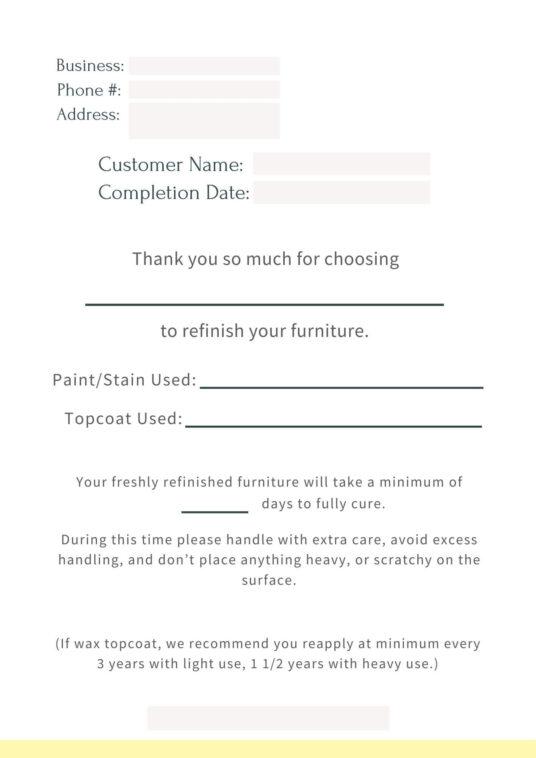
If you’re a refinisher like me and are either, commissioned, or planning to sell the piece you’re working on, you can download your very own copy of my “Refinished Furniture Care Sheet” to give to your client. I’ve left the necessary details out so you can fill them in depending on the finish you go with.
Head over to my DIY Resources page, or enter your email at the end of this post to receive your free copy!
On this care sheet, you will need to input the products used on your piece including the paint/stain, and topcoat. Then you will need to fill out the cure time depending on the finish you’re using.
You can fill out the below form right on the computer and print it as you wish!

Cure Time is One of the Most Important Factors When Caring For a Freshly Refinished Furniture Piece
A lot of people are shocked when they learn the true cure time for most finishes. Most assume that the “dry time” on the container is the correct time frame, but it is NOT.
Dry time tells you the time it takes until the very outer surface is “dry” and ready for another coat, or to be sealed. After a piece has dried for the necessary time, you can lightly touch the surface without damaging it, but anything else will leave marks or scratches. For full use of the piece, you need to wait for the recommended cure time.
The cure time is the period you need to wait until the surface is at its highest durability level or hardness. After a piece is cured you can place heavy items on it, clean it, etc. without causing damage.
There’s a great infographic on Fusion Mineral Paint’s post, “Paint Drying vs. Curing” that helped sum things up for me. Check it out here: https://fusionmineralpaint.com/paint-drying-vs-curing.
Average Dry Time and Cure Time For Each of the Most Common Finishes
| Finish Type | Dry Time | Cure Time |
|---|---|---|
| Water-Based/Latex Paints | 1-2 Hours | 21-30 Days |
| Oil-Based Paints | 6-8 Hours (24 Hours for Recoating) | 7 Days |
| Chalk/Milk Paints | 30 mins – 1 Hour | 30 Days |
| Water-Based Sealers | 6-8 Hours | 20 Days |
| Oil-Based Sealers | 24 Hours | 30 Days |
| Wax Sealers | 2 Hours (24 Hours for Buffing) | 5-21 Days |
Several variables affect the average dry/cure times above
- Application Thickness: If the paint or sealer is applied too thick, it will extend the dry time and cure time significantly. Try to apply thin, even coats.
- Temperature: Most paints, stains, and sealers dry best if the temperature is between 50 – 70 degrees Fahrenheit.
- Humidity: The ideal humidity level when working indoors is between 40-50%.
- Ventilation: When working indoors, be sure to run some fans to create good ventilation while you work. At the very least there should be a few windows open to create a cross breeze in the area. Poor ventilation while painting or sealing your furniture will produce a much longer dry time.
Be sure to consider the above factors when deciding on the correct cure time for your piece.
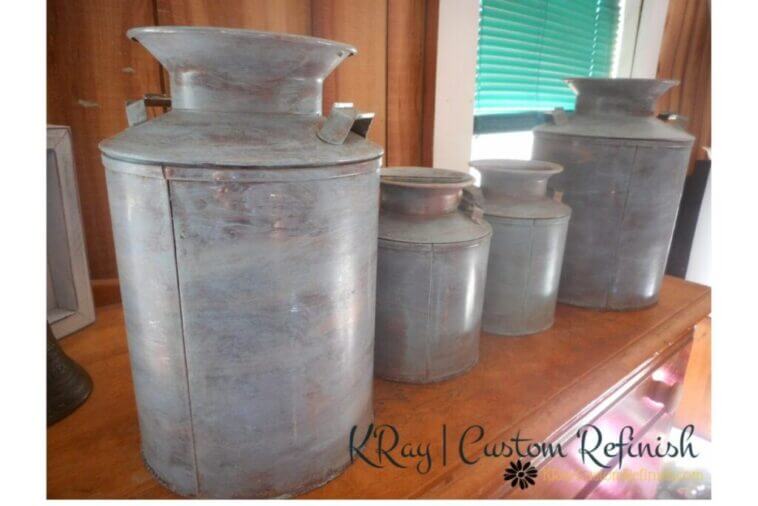
Refinished Furniture Care Tips – Before Cure Time Has Been Reached
If your piece is dry but not completely cured, you can still use it, don’t worry! You simply need to be extra careful with it during the cure time.
Handle the piece as little as possible. Keep anything scratchy or rough away from the surface. You can place light items on top of it but always add little felt pads to the areas that will come in contact with the curing surface. You can also add table runners, or soft felt cloth over the area to protect it from scratching.
Try your best not to spill anything on the surface, but if you do clean it up immediately with a lint-free cloth. Use coasters for cold drinks, and placemats under plates.
Refinished Furniture Care Tips – After Cure Time Has Been Reached
Once the piece has completely cured, you can be much more lenient with it, but the more careful you remain, the longer the piece will last.
Heavier items should be fine to place on top of the surface once it is fully cured. The only thing I will recommend is that you move any of these items around regularly to prevent discolored areas.
Do not let water droplets dry on the surface or they may discolor the surface. You should still try to use coasters, trays, and/or placemats and clean up spills/splatters immediately.
Cleaning the Surface of Your Refinished Furniture
Avoid using degreasers, polishes, furniture sprays, alcohol, or acidic cleaning products as these may damage or discolor the finish.
To clean stubborn spots, use a drop of dish detergent and warm water. Be sure to wipe the surface with a dry cloth afterward so you don’t get leftover water spots.
Special Considerations for Waxed Furniture
If the piece is sealed with wax, even after it cures, you may need to reapply the wax over time or after cleaning stubborn spots.
For furniture pieces that are used very little, it is recommended to reapply the wax at least every 3 years. You may need to reapply every 1.5 years or less for more heavily used pieces.
If you know what type of wax was used on the piece originally, I’d recommend using the same thing to recoat it. If you’re unsure, most high-quality furniture waxes will do.
One of my favorites is Howard Chalk-Tique Light Paste Wax.
Just make sure you use a wax that works over painted furniture if the piece is painted. If the piece is raw wood or stained wood, go with a paste wax like Howard Citrus Shield Paste Wax.
Or even better for stained wood pieces is Howard’s Feed n’ Wax. It works wonderfully to rejuvenate older pieces as well as seal them!
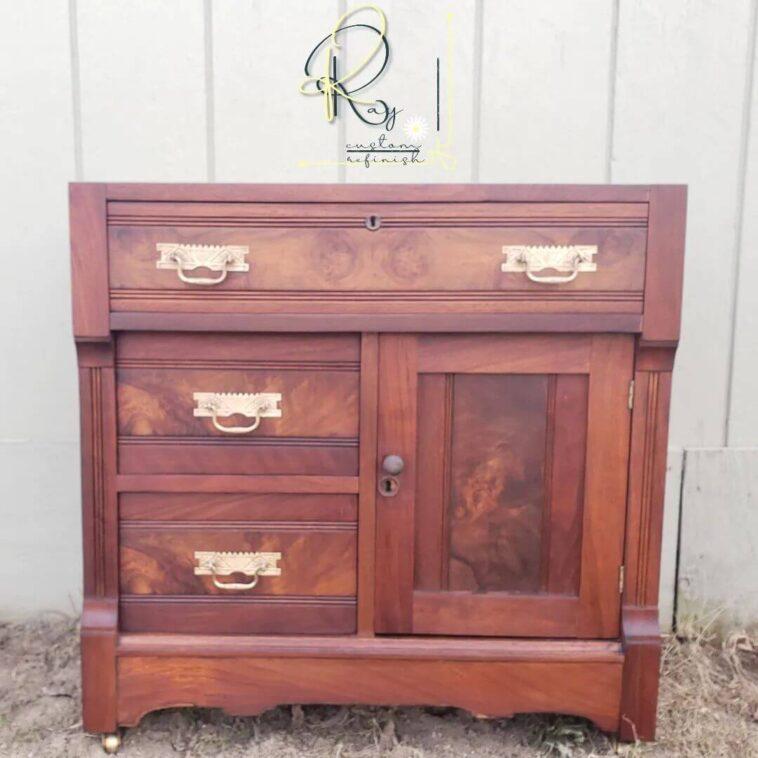
This information is meant to assist you with quick fixes, of course, and maintenance for your freshly refinished furniture. If you have serious finish damages that you need help with, check out my post on Repairing Scratched Clear Coats, or contact the refinisher for help!
Thanks for reading, and be sure to download your own Refinished Furniture Care Tips Sheet below.
Until Next Time,
KRay

